
Connection is made through this link OnePlan Platform with the email address provided to the NCS and SPT teams. The address must be added to Microsoft Azure AD after a request to the Service Desk from the NCS and SPT teams.
If you have received the link to connect but can’t reach the OnePlan platform, it means that you have not been successfully onboarded. For assistance, please contact [email protected].
If you are able to access the OnePlan platform but see a blank page (similar to the image shown below), it likely means you do not have the necessary permissions to view the venues.
Please contact our support team at [email protected] to request access or further assistance.
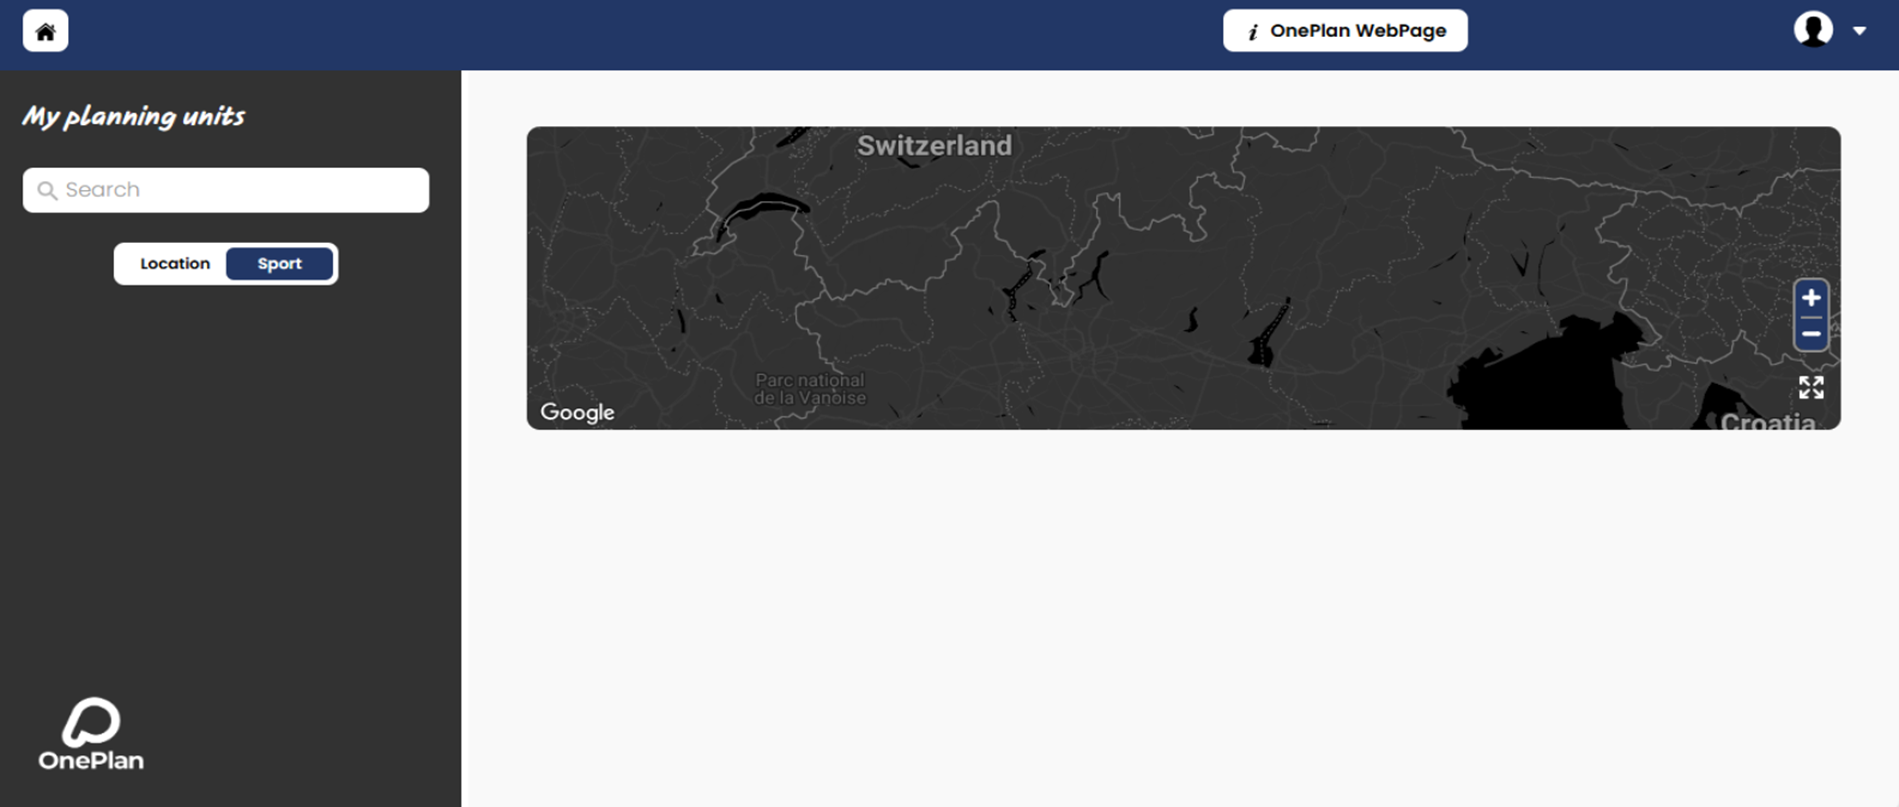
If you have access to the platform, you can locate and open the relevant Planning Unit (PU) – which represents a venue – using several options:
- From the map: select the desired PU by clicking on it.
- From the dropdown menu: choose a venue, then select the PU.
- Using the search bar: type the name of the venue to quickly find the corresponding PU.
For more information, please check out the training material here
Yes, all Planning Units (PU) include a 2D visualization. This means that by selecting a PU and then clicking on the “Open Map” option, the CAD drawings of the venue will be shown.
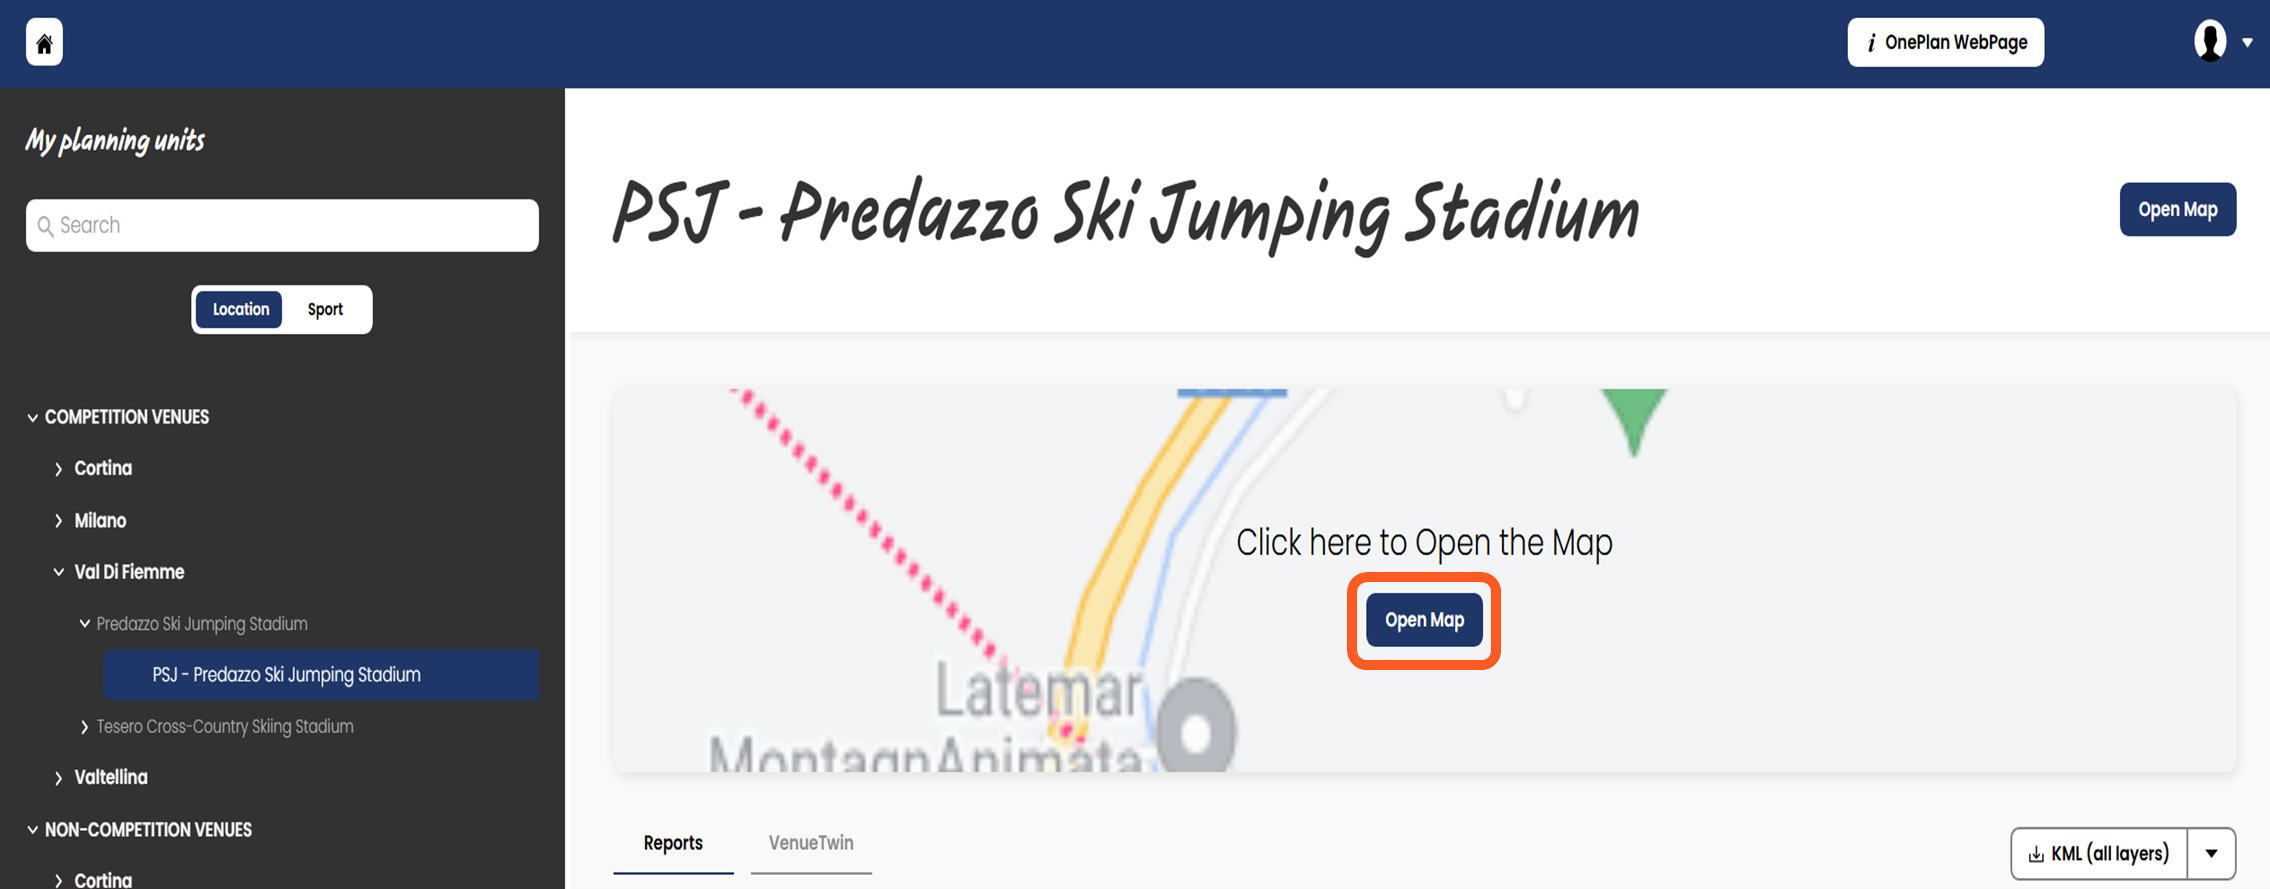
After opening the 2D view of the desired Planning Unit (PU) (please, see question n. 5), open the Placed Objects (1) menu and in the list that appears, locate the CAD Visualization (2) layer. From there, you’ll be able to view all available CAD drawings for the venue, organized by floor.
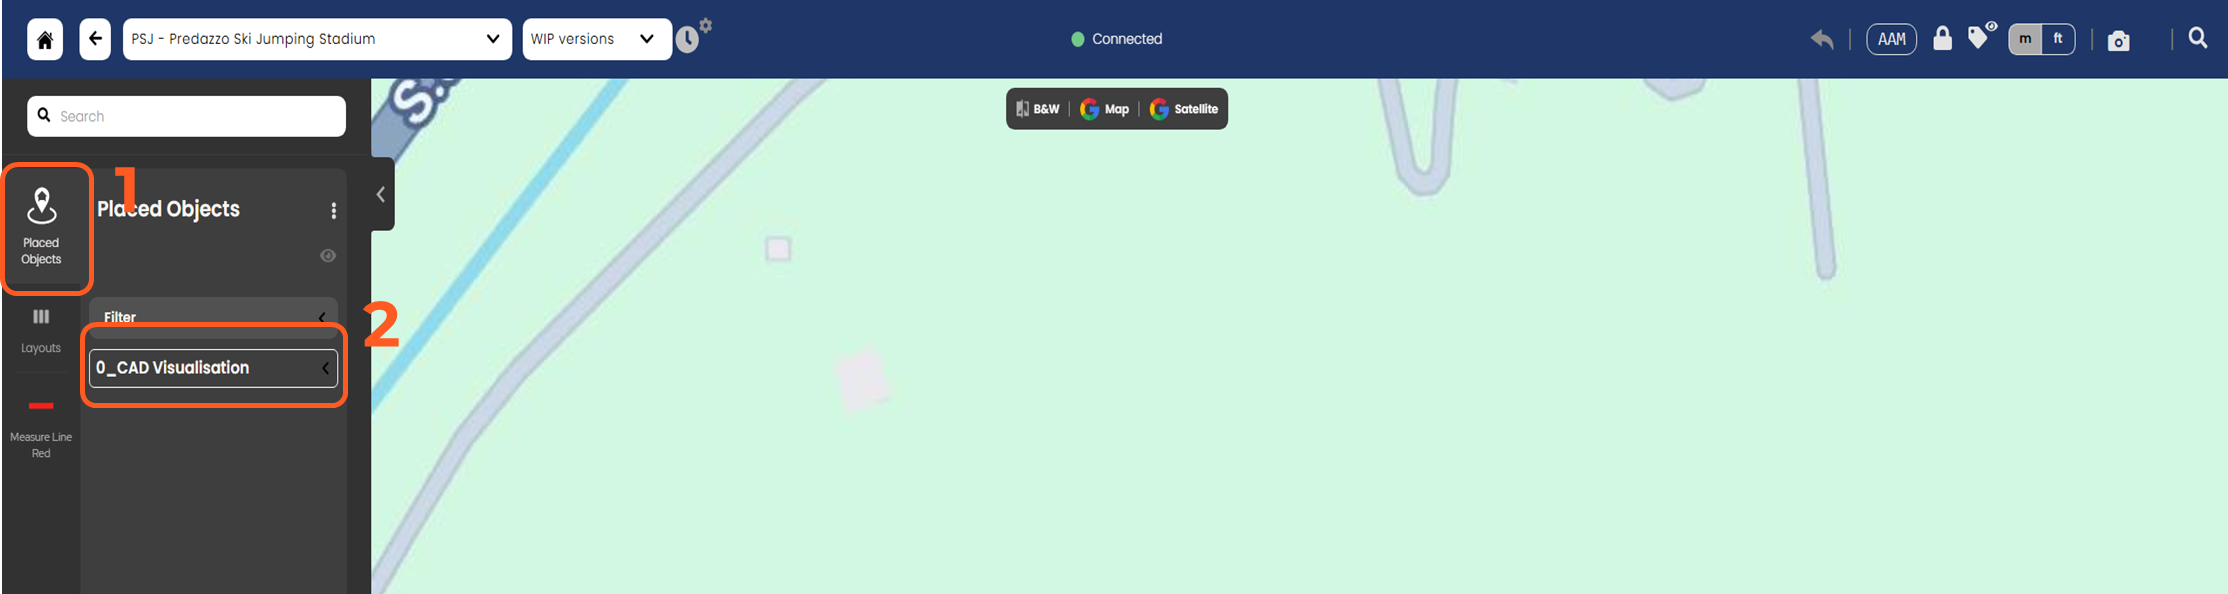
For more information, please check out the training material here. In case you need additional assistance, please contact [email protected]o.

The platform offers multiple map display modes to support different visualization needs. These typically include:
- Satellite view,
- Map (standard/street) view,
- B&W view, applicable to both Satellite and Map view.
No, the option is not available on OnePlan. As a workaround, please select the map view.
To view the AAM (Allocation Area Matrix) areas of a venue, you need to activate the viewing of the “CAD” topic and then click the AAM button located on the top right bar.


You can take a screenshot directly from the platform using the camera icon from the toolbar. This will generate a screenshot that will be placed within a storyboard. You can take multiple screenshots within the same storyboard or create multiple storyboards. You can also export the storyboards in PDF format by clicking the export button.
Yes, you can measure distances directly on the CAD drawings using the Measure line red tool available in the 2D view. This allows you to calculate straight-line distances between points.
If you don’t see the tool or need help using it, refer to the training materials or contact [email protected] for assistance
When you open the map, a pop-up message will display the current VDB (Venue Design Book) version you’re viewing. After closing the pop-up, you can still check the version anytime via the button located in the bottom-right corner of the screen.
A new update will occur anytime a new official VDB is released.
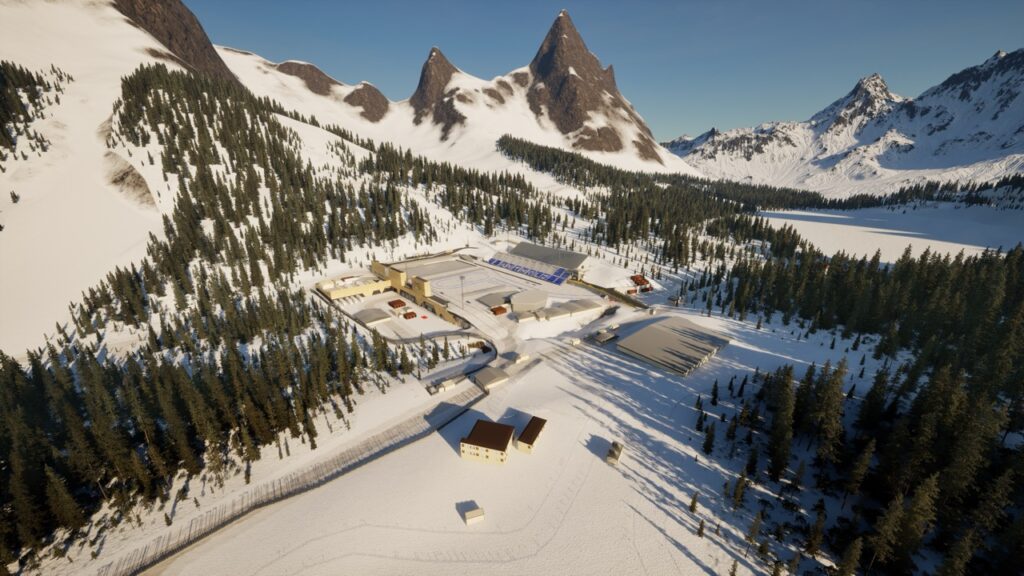
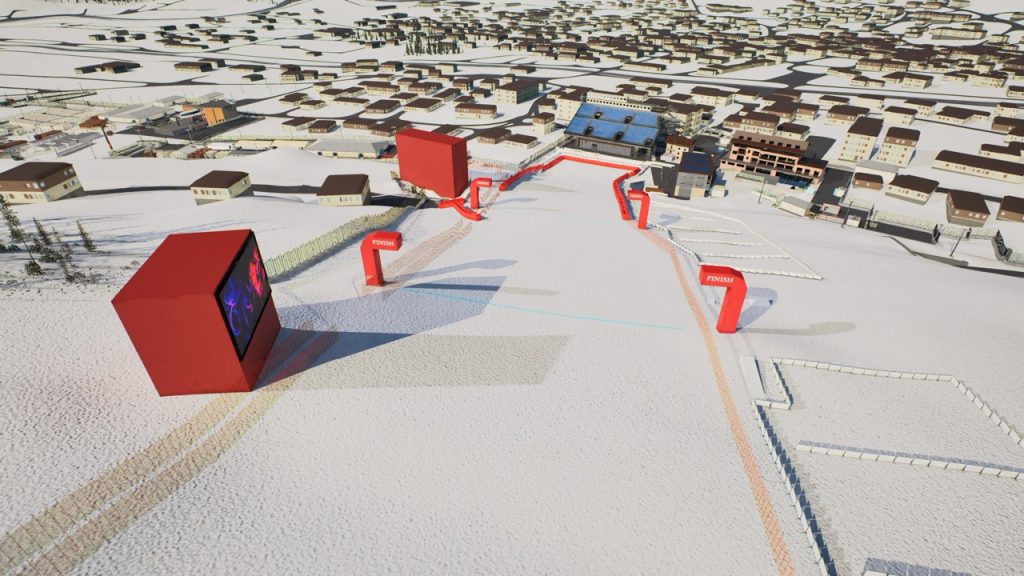
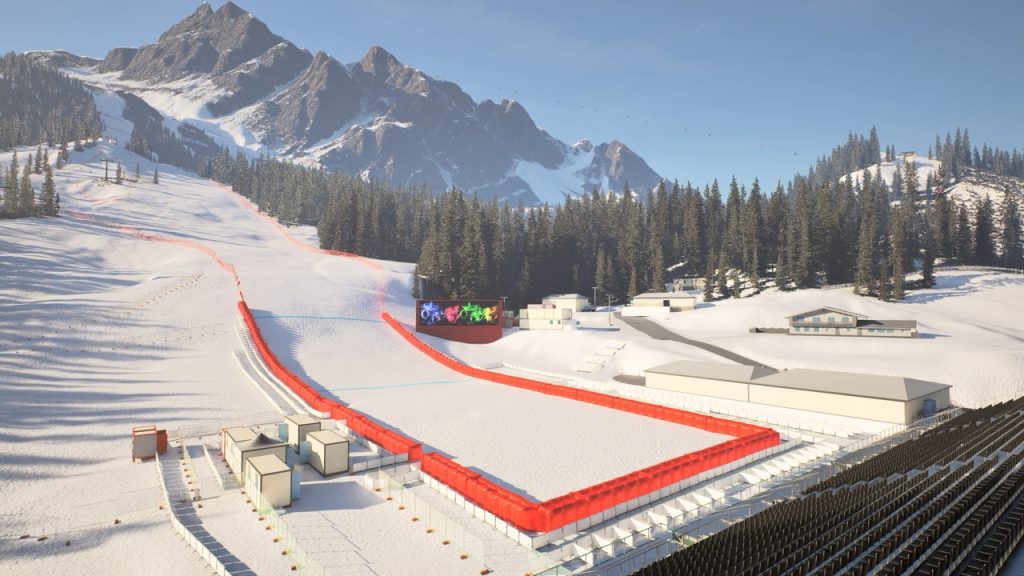
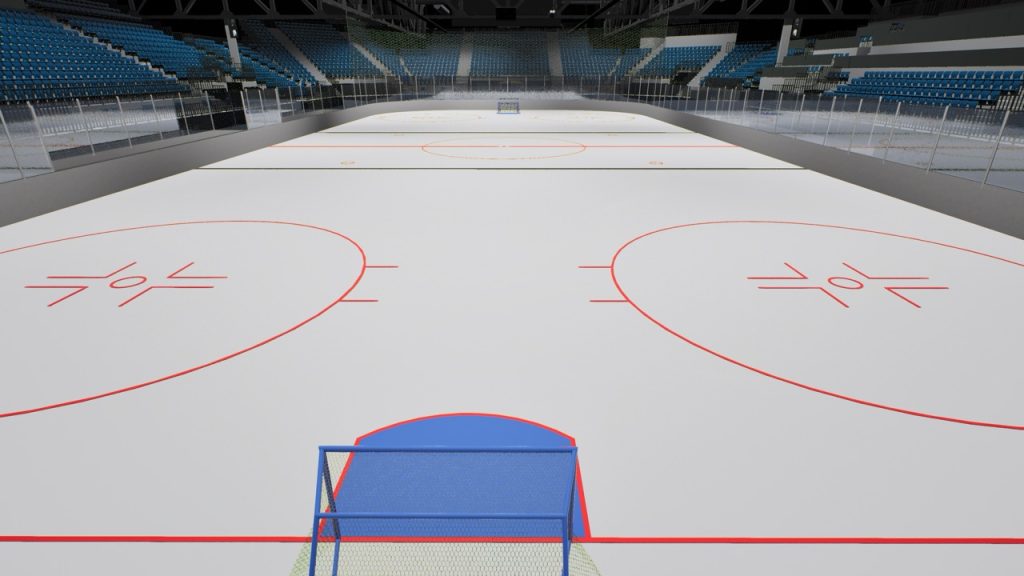
If you can’t see the 3D model for your PU, it may not have been released yet (please see question n. 15 for more info). You can check the list of available 3D models here: link to be added from landing page.
If the model is listed but still not visible on your platform, please contact our support team at [email protected] for assistance.
To access the 3D models, click on the desired PU in OnePlan.
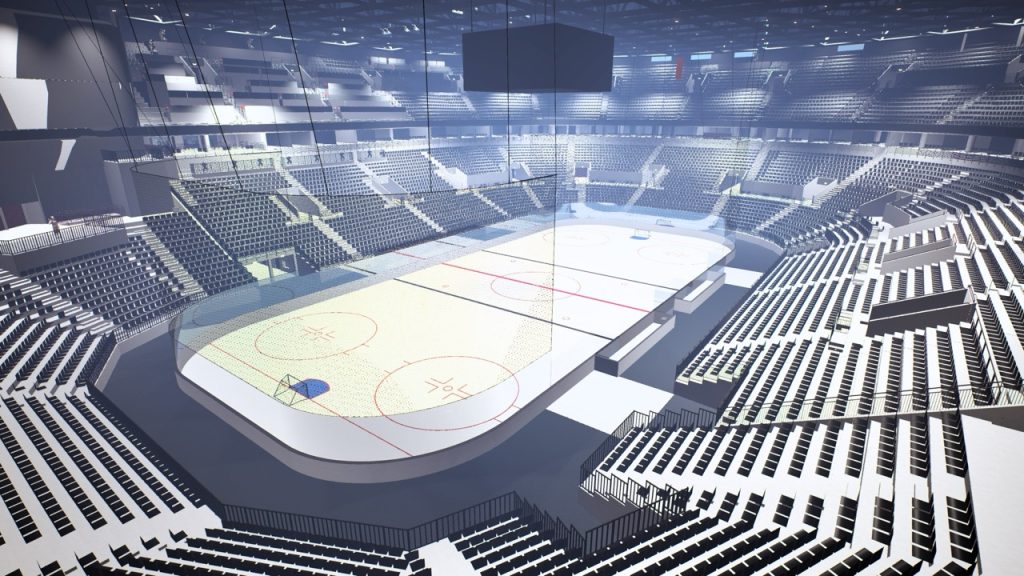
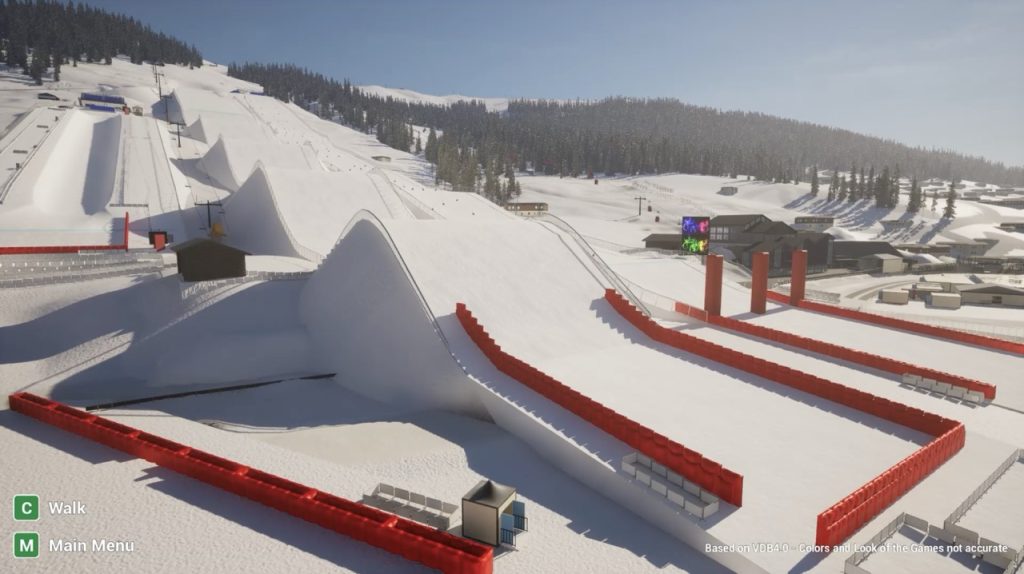
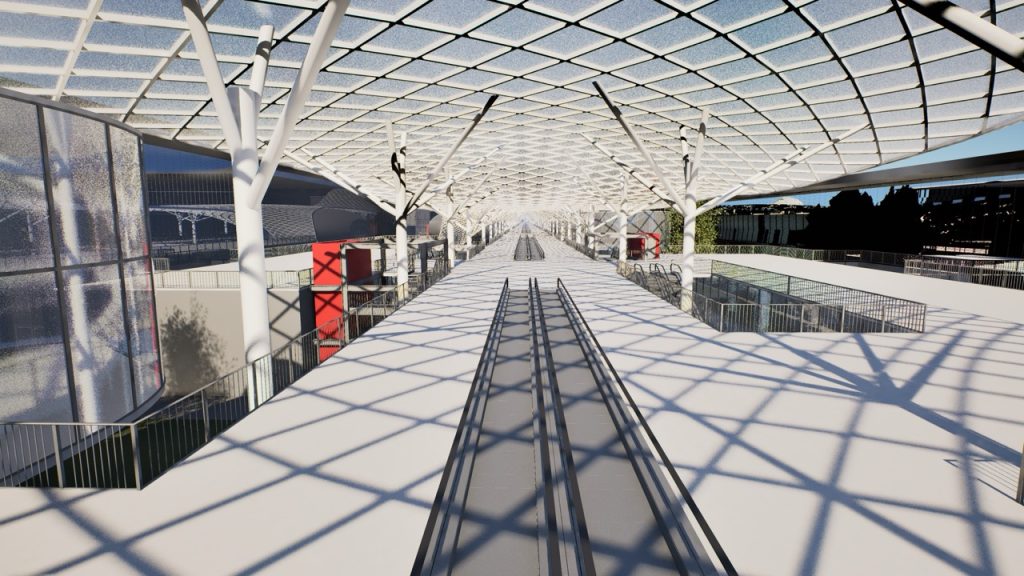
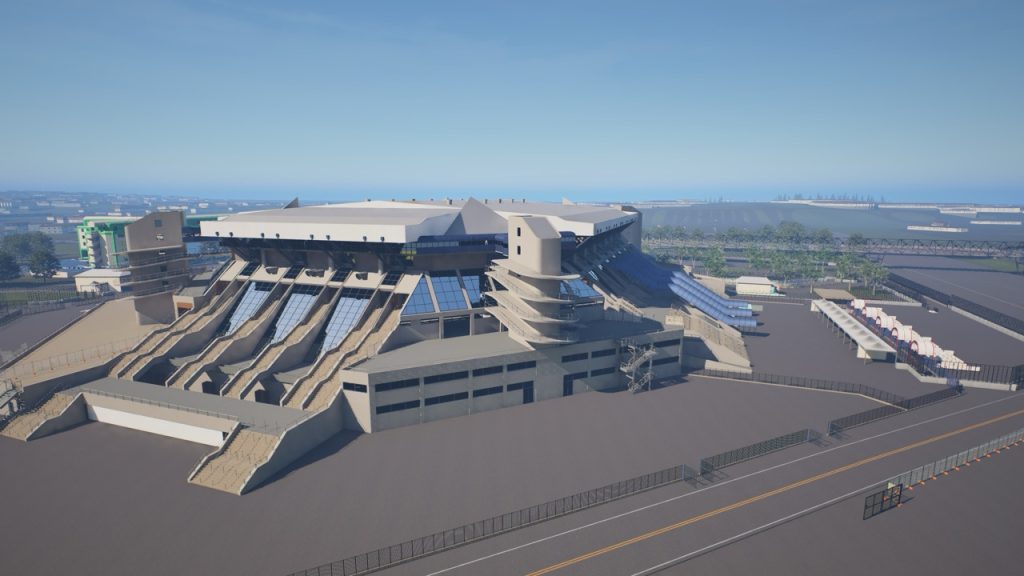
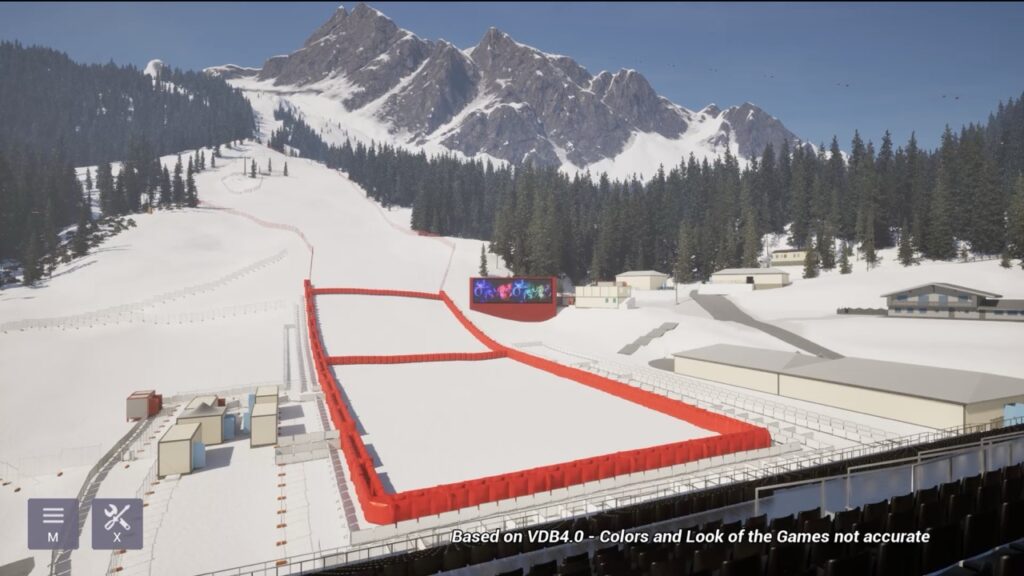
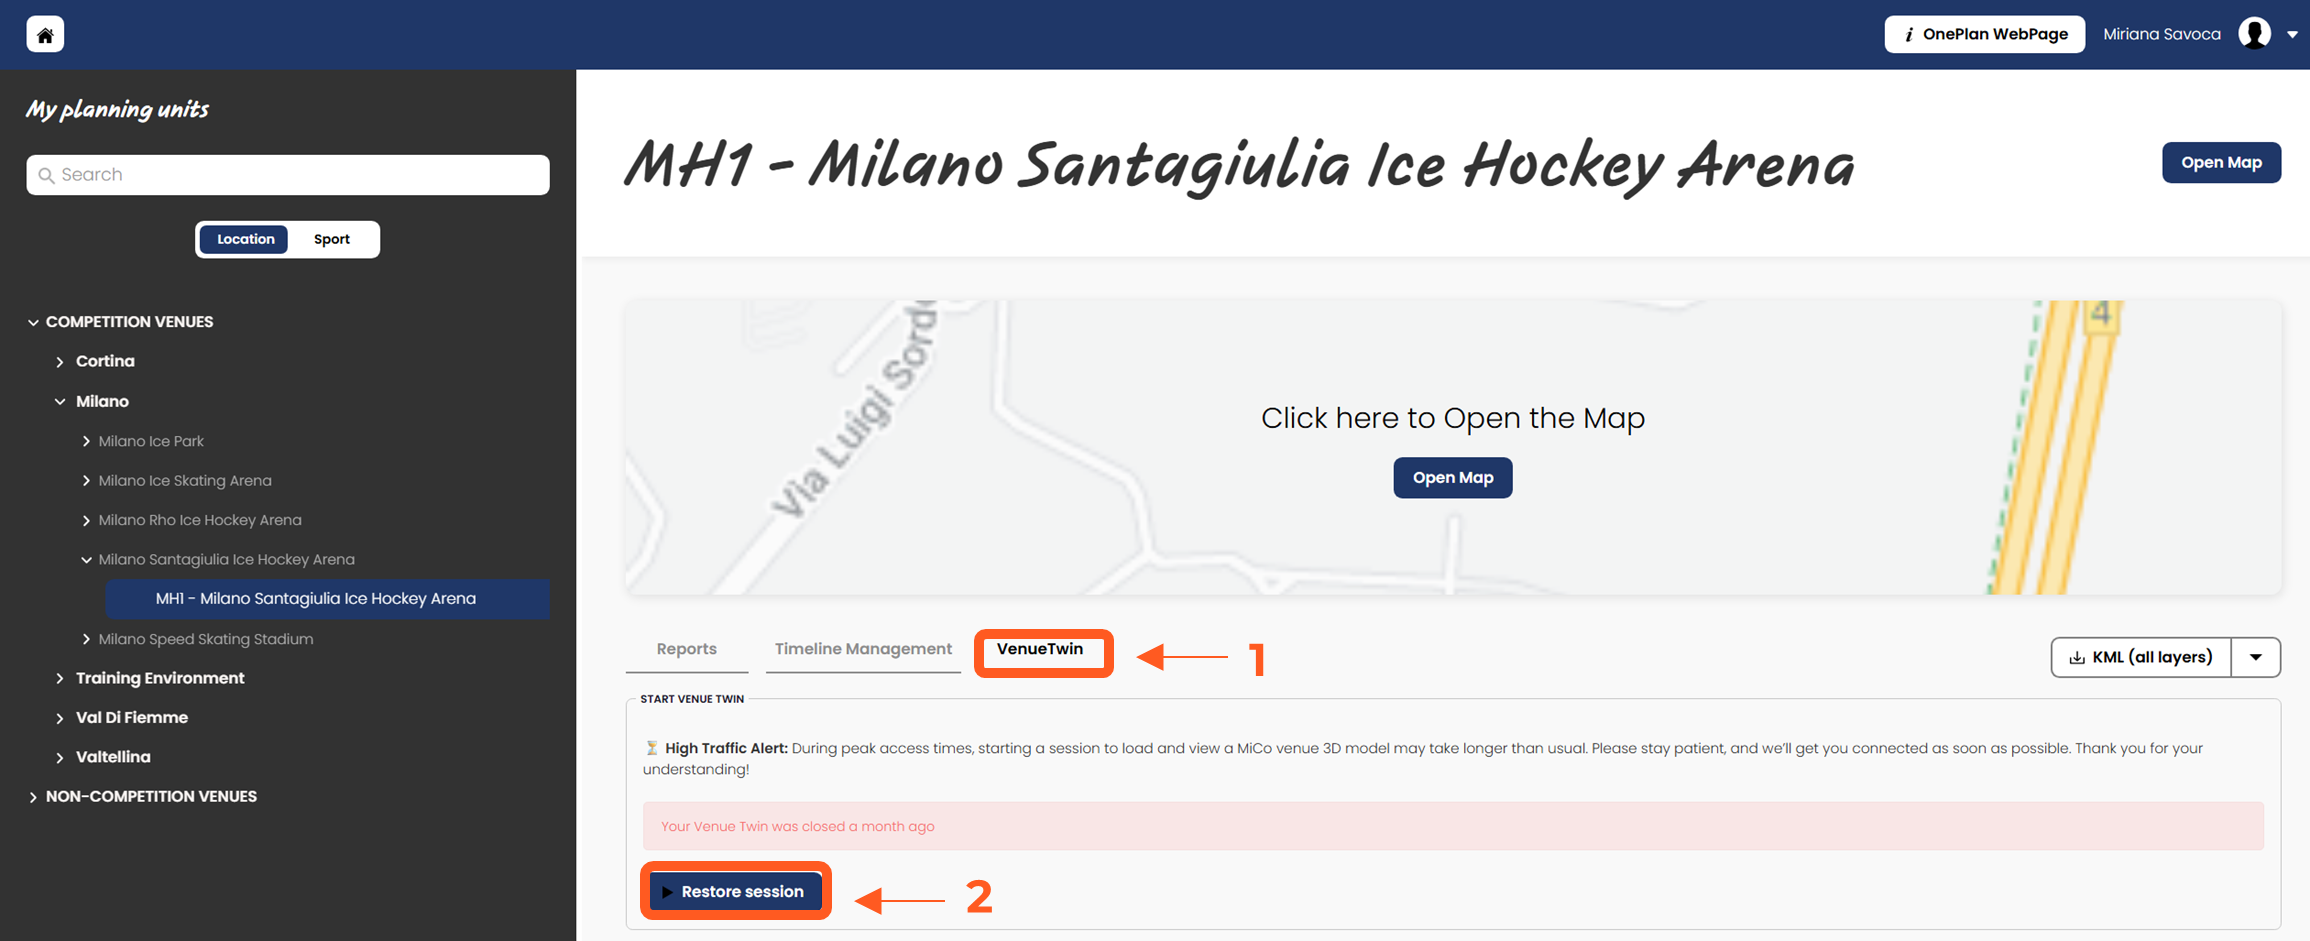
If you have the correct permission, the tab ‘Venue Twin’ (1) will appear in the menu of the Planning Unit. Then you can click on ‘Launch Venue Twin’ or ‘Restore Session’ (2) to start loading the 3D model; the model will take few minutes to load.
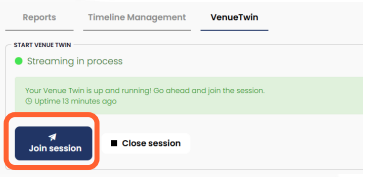
Once it’s loaded, you can click on ‘Join Session’ (3).
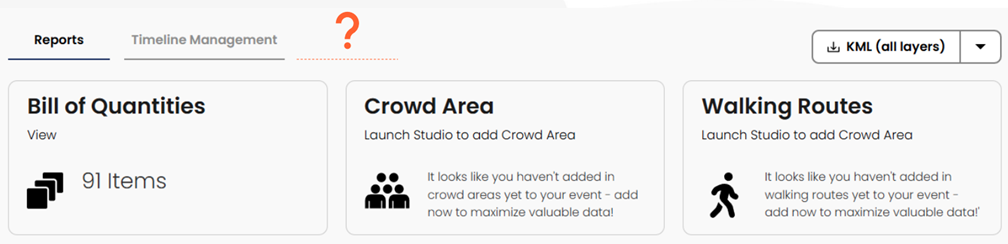
If the VenueTwin tab is missing, it could be for different reasons:
- The Venue is being updated to the latest VDB version,
- The Venue is unavailable in 3D (please, check the list of 3D models here: link to be added),
- As an external user, you lack permission to see that venue – please contact your referent in the NCS or SPT team for access.
It may depend on your Internet connection or the capacity of your device. Try closing and reopening your session or restarting your computer. Make sure you are using Google Chrome, close any other application that consume your connection and try to reload your session. In case of high traffic, when many users are accessing 3D models simultaneously, waiting times may increase. Check the connection and if it is stable, the model will start correctly. If the problem persists, contact our support at [email protected].
Please note: User Experience may vary based on your geographic location and on the continent you are based on when connecting.
Sessions may have a timeout after a period of 15 minutes of inactivity. If you are disconnected, log in again by restoring the session.
Navigation is possible via the keyboard, using the keys corresponding to the legend below. You can also rotate the view using the mouse or arrows on your keyboard.
Here you’ll find the 3D training material and videos for you to check: link to be added.
If you have problems or additional doubts about navigation, please contact our support at [email protected].
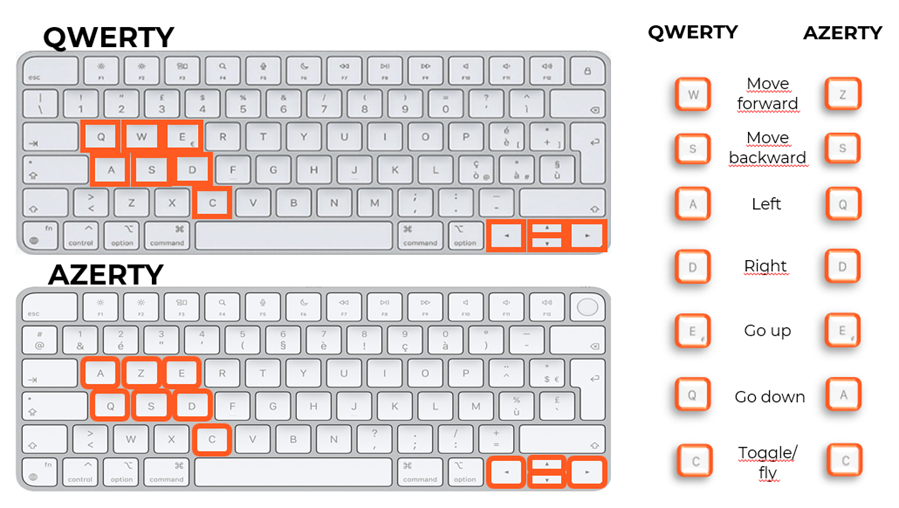
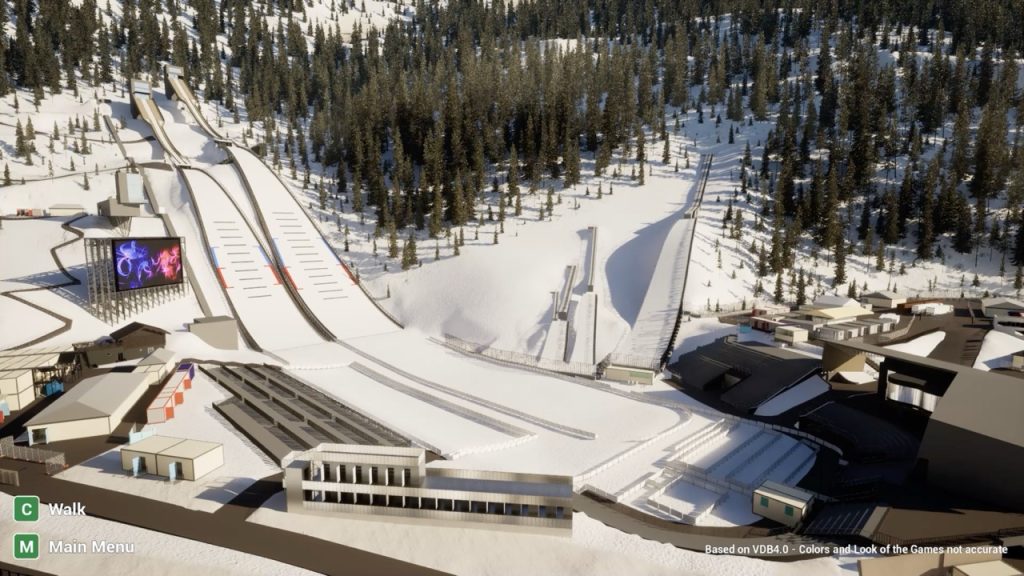
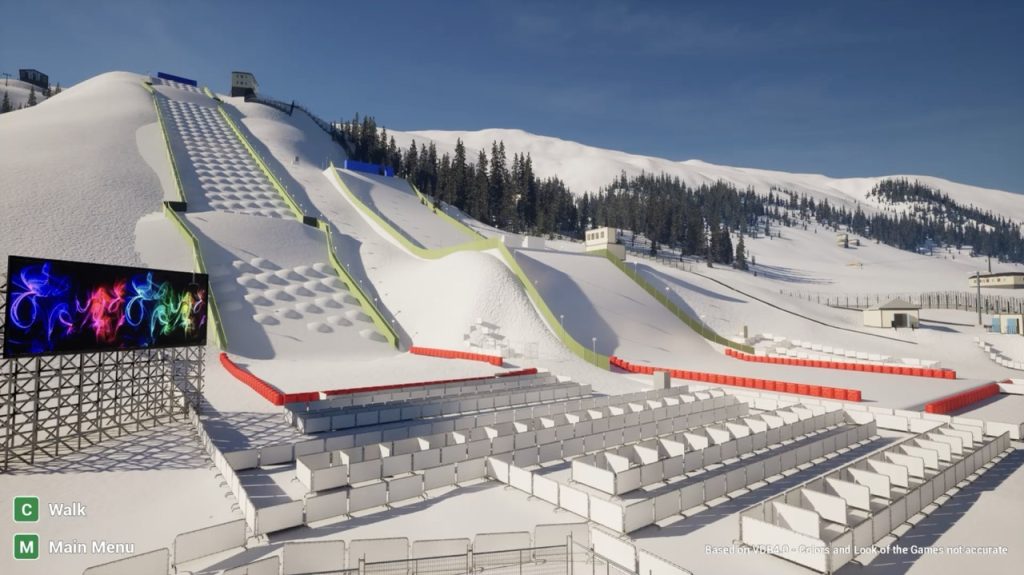
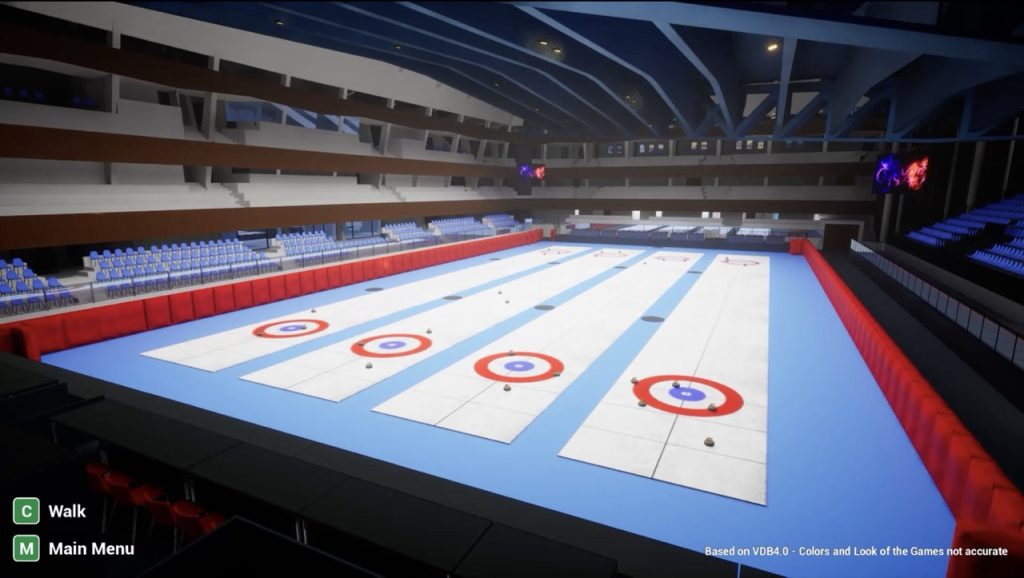
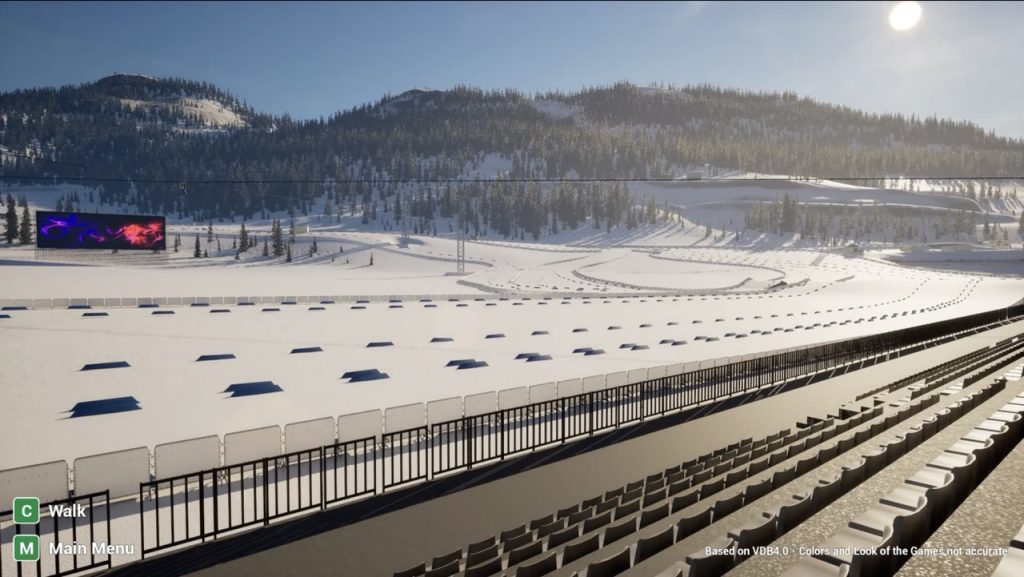
Please note that the 3D model will open in “walk” mode. Walk mode lets you explore the 3D model from a human perspective, as if you’re walking through the space in real life. You move forward, backward, and turn left or right, keeping your view at about eye level. If you wish to move freely up or down, click the C key, and you’ll be able to fly in the venue.
To navigate faster, simply hold down the SHIFT key  while moving with the other keys.
You can open the Main menu by pressing the M key on your keyboard. This menu gives you access to different functionalities that help you navigate and interact with the 3D model.
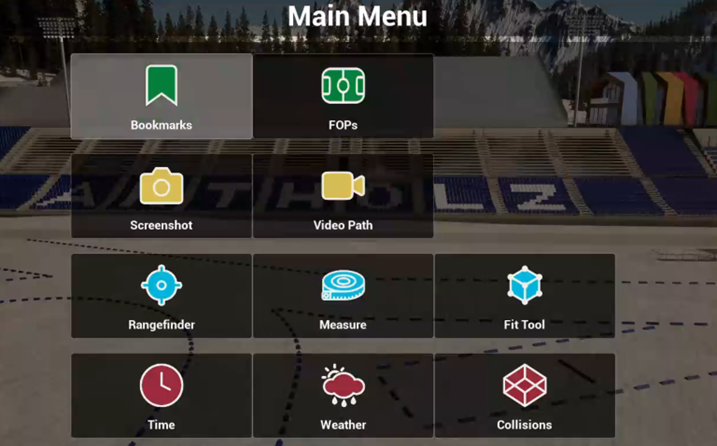
To choose a tool or option, use your keyboard’s arrows to highlight it, then press Enter to activate it. Once you’re done or want to switch tools, you can return to the main menu anytime by pressing the Backspace key.
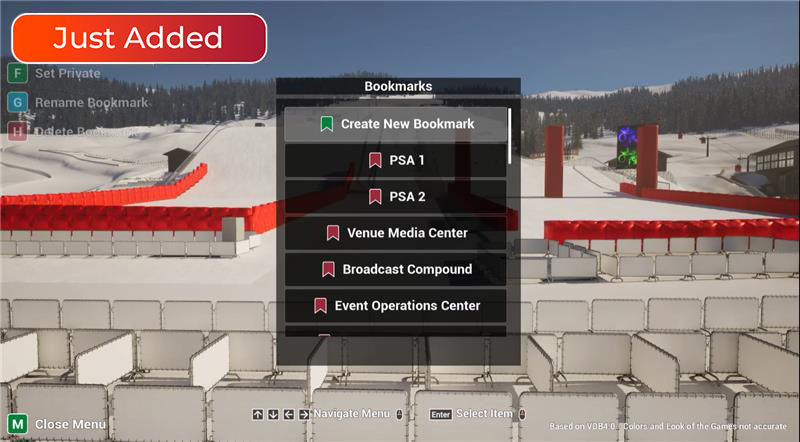
Absolutely! Bookmarks will let you save specific locations within the 3D model so you can easily return to them anytime. You can create and place bookmarks yourself from the Main Menu (M) wherever you want. Once a bookmark is set, simply select it from the bookmarks menu to instantly jump to that area, making navigation fast and convenient. You can choose to set your Bookmark as public (as default) or private, so you will be the only one able to visualize it. For more information, please check out the training material here: 3D Self Training Manual here.
Yes, there are 3 measuring tools available for you from the Main menu (M):
- Ragefinder: this tool helps you quickly find the distance between where you are and a point in the 3D model. The tool shows the exact measurement, helping you check lengths easily. It reaches x8 zoom level, giving you a great level of detail.
- Measure: use this tool to measure distances, angles, or areas by selecting multiple points or lines on the model.
- Fit Tool: it lets you test whether an object or shape fits inside a space. You define the shape following the on screen instructions, and the tool checks if it can be placed inside the area you want, helping you verify space constraints.
For more information on how to use these tools, please refer to the training material here.
Disclaimer: measurements in 3D models may be inaccurate, please always refer to the VDBs.
You can also check the CADs in 2D on OnePlan, as the plans provided by VDO are imported.
The 3D model’s Main Menu (M) in OnePlan includes built-in tools to help you capture visuals for presentations or documentation:
- Screenshot Tool: Use this feature to take high-resolution still images of the 3D model from any angle. It’s useful for reports, stakeholder reviews, or sharing specific views with your team.
- Videopath Tool: This allows you to create a custom camera path through the venue, generating a smooth, animated walkthrough. Ideal for showcasing layouts, planning scenarios, or giving virtual tours.
If you’re unfamiliar with these features or need help getting started, please refer to the training materials available here. For further assistance, you can also contact [email protected].
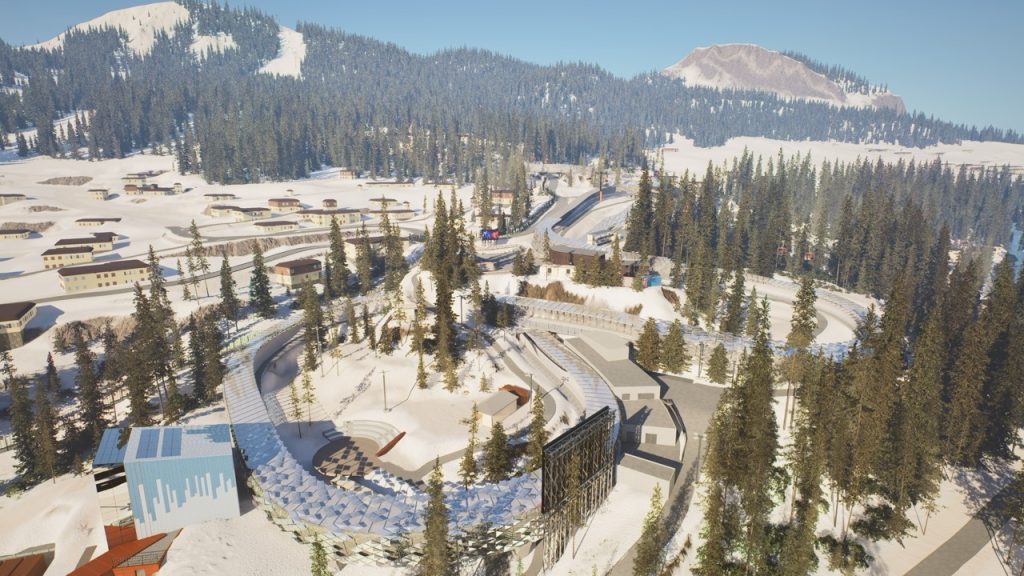
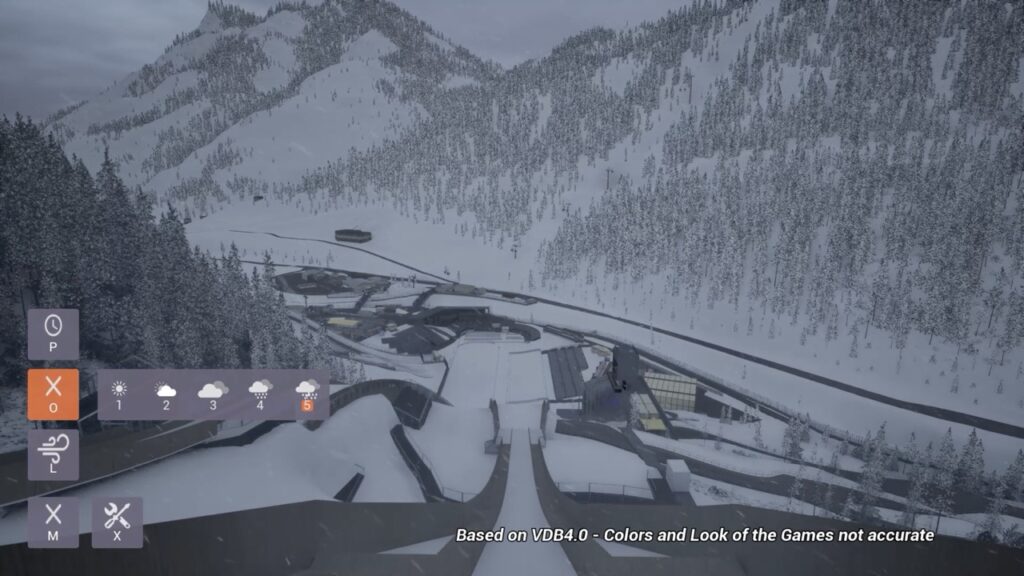
Yes, you can! The 3D model includes tools that let you adjust the weather conditions (sun, clouds, or snow) and the time of day. This helps you see how the space looks under different lighting or environmental conditions.
You can access these options through the Main menu (M), by selecting the correspondent features. Just choose the desired weather type or drag the time slider to simulate different times – morning, afternoon, evening, or even night.
When you open a 3D model, collisions are automatically turned on. This means you can only move through doors and open spaces—just like in real life—and you won’t be able to walk through walls or other solid objects.
If you want easier navigation, you can switch collisions off or on anytime from the Main menu (M), allowing you to move freely through the model when needed.
If you are in an indoor area and light is too low, you can turn on a Flashlight by pressing F2 on your keyboard. If your keyboard has an FN key, you may need to press FN + F2 instead. To turn the flashlight off, press the same key combination again.
If navigation has become slow, you can try resuming it using the shortcut CTRL+FN+Left Arrow. This will allow you to return to the starting point of the model without having to close and reload it.
Unfortunately, it’s not possible to export 3D models autonomously but you can request an FBX format export of the 3D models. Please contact [email protected] for more information on costs and timing.
If your question or issue isn’t covered in the FAQs above or in the training material, please reach out to our support team at [email protected] for assistance.
OnePlan access: Login – OnePlan Studio Planner